Damn Exploitable Android App - Lab Setup
In this blog post we will learn how to setup a basic lab environment in order to do reverse engineering and learn how to build an exploit for the Damn Exploitable Android App.
Jun 19
Damn Exploitable Android App - Lab Setup
Upcoming blogpost:
These article series are specifically created to teach beginners the basics of a difficult topic and learn the little tricks on an Android device to achieve a reverse shell while exploiting memory corruption on an Android Native Library.
In the articles we will focus on Armv7, which are typical older phones but during the Paid Courses of Mobile Hacking Lab and the integrated Corellium lab environment we focus only on arm64, which is the architecture of newer devices.
- Setting up our mobile vulnerability research lab - Current Page
- Dynamic analysis and Reverse Engineering – Finding the Bugs
- Abusing Info Leaks to bypass ASLR
- Exploit Stack Overflow
These article series are specifically created to teach beginners the basics of a difficult topic and learn the little tricks on an Android device to achieve a reverse shell while exploiting memory corruption on an Android Native Library.
In the articles we will focus on Armv7, which are typical older phones but during the Paid Courses of Mobile Hacking Lab and the integrated Corellium lab environment we focus only on arm64, which is the architecture of newer devices.
The reason we published the app for Armv7 is because this can be done in a home lab environment with an Android Armv7 Emulator on a x86_64 machine. This will allow more people to enjoy this free material! So let setup our lab environment!
Lab Setup
The first step of doing vulnerability research starts always with setting up a lab environment. To follow along with the series about Damn Exploitable Android app we will setup a lab environment which allows us to debug the binary and do dynamic analysis and reverse engineering.
Mobile Hacking Lab VM
For all our trainings and articles, we have created special VM with the necessary tools install for you. This will help you to focus on the actual content and learning instead of installing a bunch of tools. Once you have learned how to use them, you can always setup your own custom machine.
• Download the VM for Mac Silicon Arm Processor
NOTE: These VM's can be used also for other free content on our platform including the free "Introduction into Arm64" mini course.
NOTE: These VM's can be used also for other free content on our platform including the free "Introduction into Arm64" mini course.
Instructions for Virtual Box on x86_64
Import of the OVA file is simple, just double click on the file and Virtual Box should already show an import screen. Press the “import” button to import the VM.
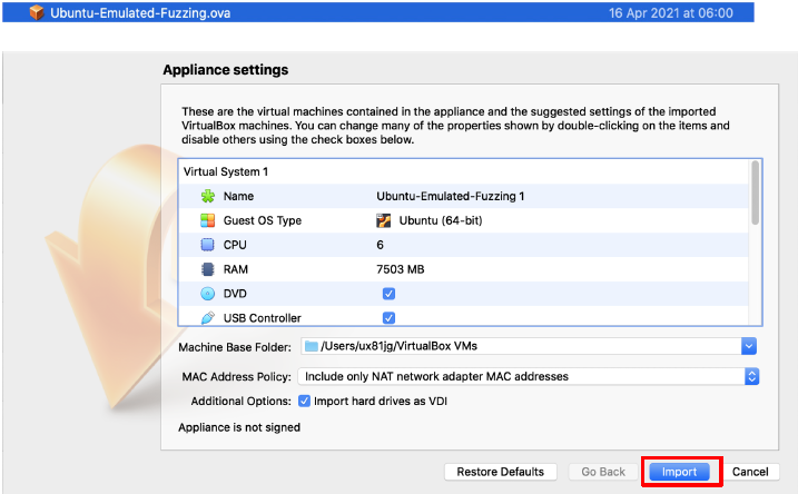
Once you imported the VM you can now find it in the list of your other VM’s. Double click to run our VM.

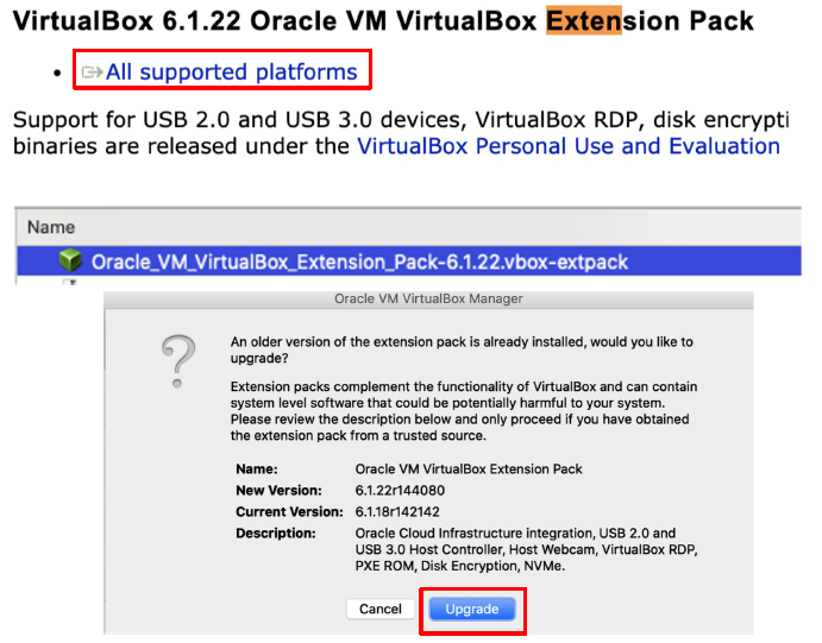
Make sure to install the VBox Extension Pack for your version of Virtual Box.
Go to https://www.virtualbox.org/wiki/Downloads and download the
“All support platform” file and double click to import.
“All support platform” file and double click to import.
Instructions for UTM on Mac Silicon Arm Processor
- Extract the .utm file from the zip archive.
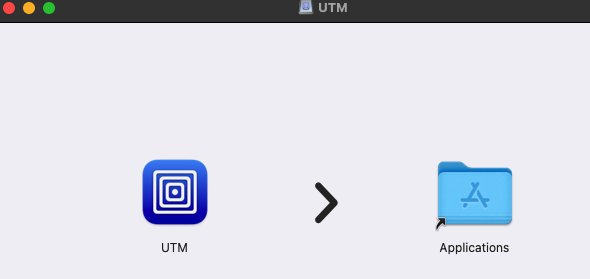
- Download and install UTM https://github.com/utmapp/UTM/releases/latest/download/UTM.dmg
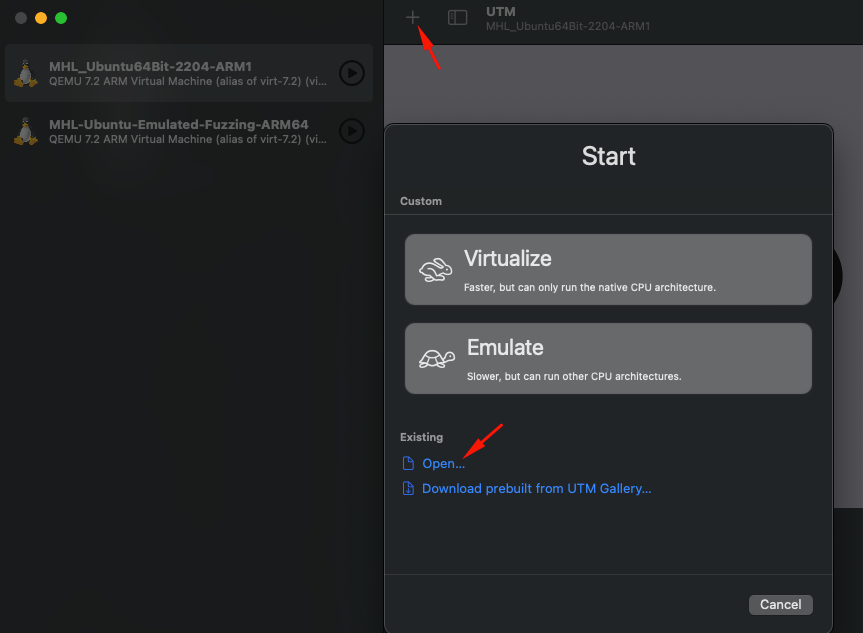
- Import the VM (file: MHL_Ubuntu-Emulated-Fuzzing-arm64.utm) in UTM
Setting up an Armv7 Android Emulator
Now that we have our VM with all the necessary tools we need to create an Android Emulator to run Damn Exploitable Android App. For this we can use the Android Studio AVD Manager to download and create specific emulators, in this case an Armv7 Emulator.
Download and install Android Studio https://developer.android.com/studio
Download Arm Android VM
Now that we have our Android Studio downloaded, we can start downloading our Android Image and create a device.
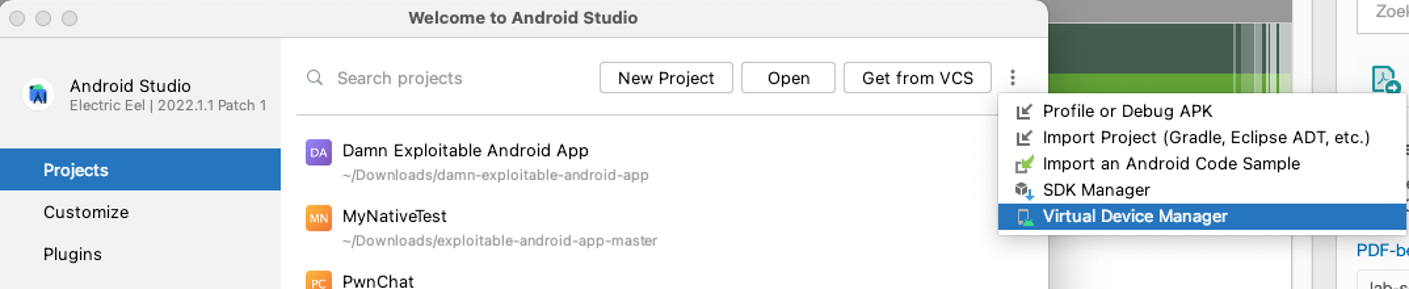
Open Android Studio and in the main menu click the 3 dots to show the menu seen in the screenshot below and click on “Virtual Device Manager”.
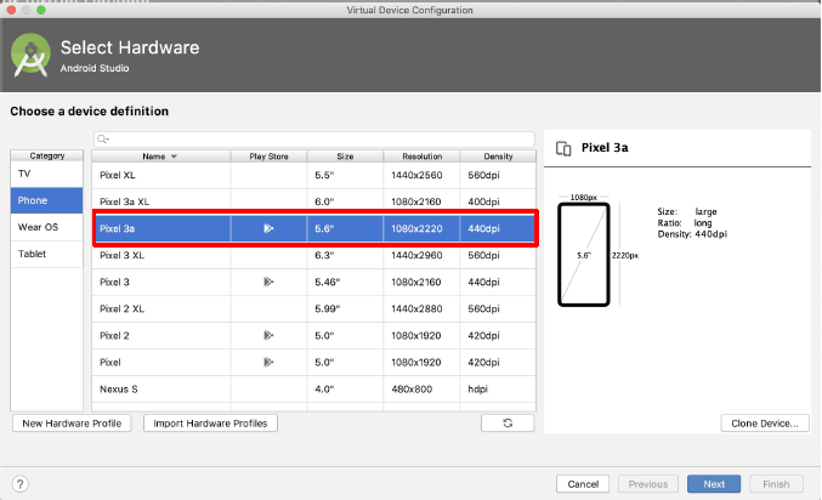
On the next screen click the “Create Device” button.

Choose the Pixel 3a Phone and click “next” as seen on the screenshot below
On this screen make sure to click the “Other Images” as seen on the image and select the correct device, this is import!
Make sure to have to following configuration:
- Nougat
- API Level 25
- Armabi-v7a
- Android 7.1.1
Click the Download link and once the downloading is done click “next”

Running your Armv7 Android Emulator
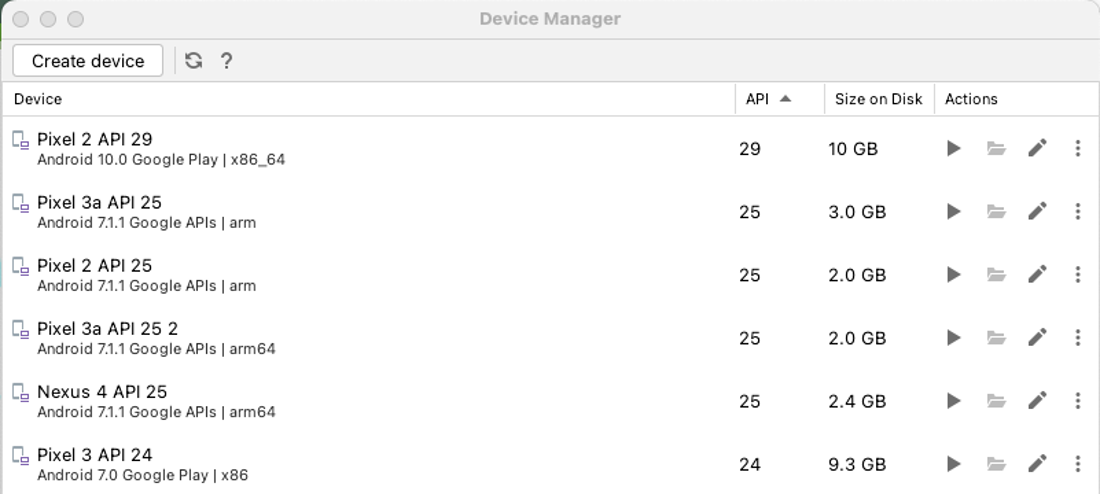
Running your new Emulator can be done from the main menu by again going to our “Virtual Device Manager”.

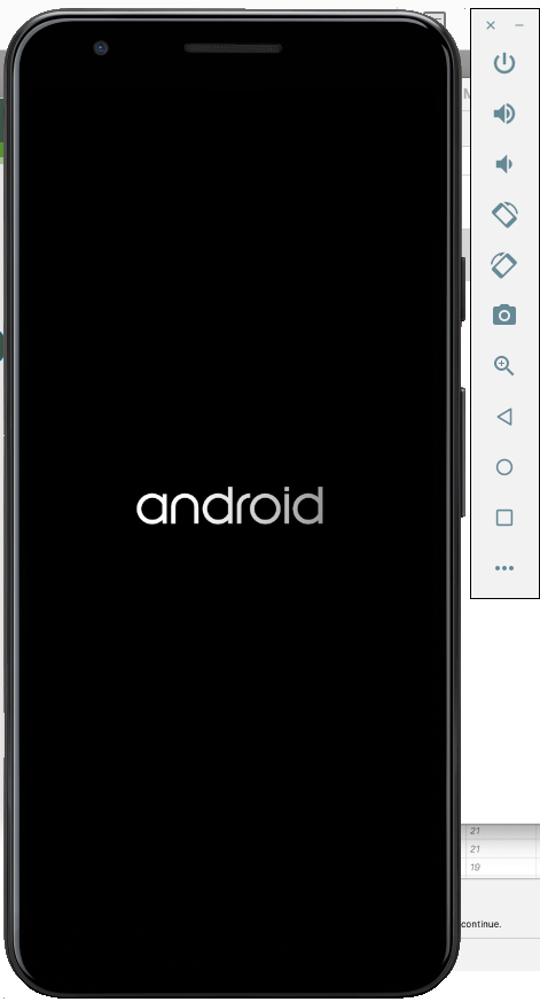
You should see our Pixel 3a API 25 Device. Press the play button to start the device!
NOTE: You will see an error that this device is slow, and the user interface will be very slow indeed, but we won’t need the user interface. Beside that, it will take quite some time to fully boot the device.
Be patient and don’t touch the device!
Android Debugging Bridge – ADB Shell Access to Device
Now that the device is running, also even during bootup it is possible to get shell access to the device by using “adb” which comes with Android Studio.
See the list of devices connected:
See the list of devices connected:
“adb devices”
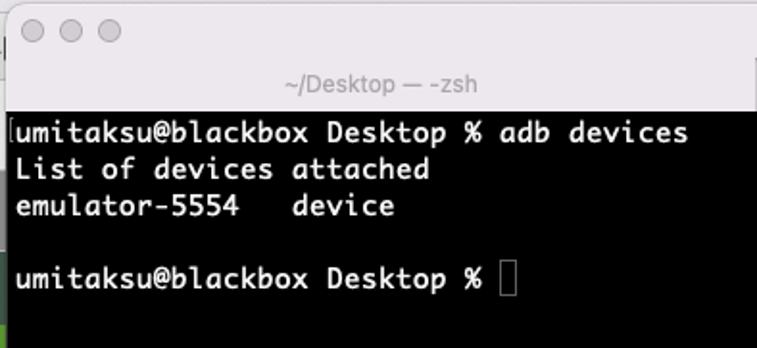
Use the following command to see if we can already shell into the device, this is possible while the device is booting!
“adb shell”

Installing Damn Exploitable Android app
Now that we have our environment ready the last thing we need to do is make that the Damn Exploitable Android App is install on our Android Emulator.
To do this we can use the following command:
“adb install app-debug.apk”
Running the app can be done using the following command but make sure the Device is fully booted up!
Running the app can be done using the following command but make sure the Device is fully booted up!
“adb shell am start com.example.mynativetest/.MainActivity”

Now you should see the app running on our Android Emulator.

Summary
Today, we have successfully established our lab environment, enabling interaction with a specifically designed Android App built for Armv7 processors. We've effectively downloaded and installed the Virtual Machine (VM), complete with all the necessary tools needed for the subsequent articles we'll be exploring.
Next Article:
- Dynamic analysis and Reverse Engineering – Finding the Bugs
Next Article:
- Dynamic analysis and Reverse Engineering – Finding the Bugs
- Abusing Info Leaks to bypass ASLR
- Exploit Stack Overflow
In addition, we've set up a device that can support the operation of the Damn Exploitable Android app. In our forthcoming article, titled "Dynamic Analysis and Reverse Engineering – Identifying the Bugs", we will concentrate our efforts on conducting dynamic analysis and reverse engineering. Our main goal is to pinpoint potential areas of interest, specifically focusing on the app's native components.
Stay tuned for this deep dive as we unravel possible targets to focus on, leveraging these tools to expose vulnerabilities and learn how to build an exploit for an Android Device running on an Armv7 Processor.
Want to learn how do this on our cutting edge platform and running for Android 13 running on Arm64 without setting up a lab?
Check out our training: https://www.mobilehackinglab.com/course/android-userland-fuzzing-and-exploitation
Want to learn how do this on our cutting edge platform and running for Android 13 running on Arm64 without setting up a lab?
Check out our training: https://www.mobilehackinglab.com/course/android-userland-fuzzing-and-exploitation

Copyright © 2024
Company
Mobile Hacking Lab B.V.
Registration:
97390453
VAT:
NL868032281B01
Registration:
97390453
VAT:
NL868032281B01